
Here at Tucker’s Farm we make “Fresh Cheese” (aka “Chevre”) twice a week with approximately 25 – 35 gallons of goats milk each time. This is one of the simplest curds to make – and one of the most delicious, and versatile as it can also be ripened in a number of ways (more on that in future posts).
Our yield is approximately 1.8 lbs of cheese per gallon of milk, so we are producing around 100 lbs. of fresh cheese per week.We don’t use any specialized equipment, so all of our techniques can be scaled down and accomplished in a home kitchen. We use goat’s milk exclusively (for now) but this recipe will probably work just as well using cow’s milk.
This is what we do.
1. On the morning of the cheese “make”, the milk is poured from the milk cans into our 40 gallon stainless steel stock pot. The stock pot sits on a single gas burner. The milk is heated to 145F. Stir the milk occasionally as you heat it (Caution! Try not to let the temperature of the milk get north of 150F.)
2. Once the milk reaches 145F the burner is turned off and the milk rests for 30 minutes – this completes the pasteurization process. Obviously if you use pasteurized milk you can skip this step.
3. The milk now needs to be cooled down to between 74F and 78F – this is the “setting temperature” for this cheese. To cool it down we transfer the milk from the stock pot to two 20 gallon cheese vats. The vats sit in sinks which are filled with ice and water. The milk is stirred occasionally to assist the cooling process – this usually takes a few hours. Once the milk reaches the setting temperature the water is drained from the sinks and any remaining ice removed.

cheese vat in sink
4. Now the milk is inoculated with a messophillic bacteria starter culture. We use a “direct set” culture called Flora Danica at a rate of one teaspoon per 5 gallons of milk. After we have added the starter (stirred in well) we then add in “double strength” liquid vegetable rennet at the rate of 1 drop per five gallons of milk (yes, just a drop!). The rennet drops are diluted in a few teaspoons of water so that it is more easily mixed in with the milk (mixing with water also allows you to measure in “half drops” etc.)Again, stir the rennet in well. Now the milk needs to rest overnight at room temp. Typically it is early afternoon at this point in the day and we leave the milk until about 8 o clock the next morning – this means the milk sits for approximately 17 hours.
5. The next morning when we lift the lid to the cheese vats we typically see an inch or so of whey (golden liquid) floating on top of the curd mass and smell the lovely “yogurty” aroma rising up from the milk which lets us know we are well on the road to success!
This is a “lactic” curd, which means the curd is set by the bacterial action of the starter culture (not the rennet).

getting ready to hang curds
6. On the counters adjacent to the cheese vats, we lay out perforated stainless steel pans and line them with cheesecloth. The pans are kept off the surface of the countertop with boards so that the whey can drain out freely into the sinks. The curd is scooped from the vats and laid down into the cheesecloth lined pans. The curd is “wery wery sawft” – like soft jello. Once the pan is filled to the top, the sides of the cheesecloth are folded neatly over the top of the curd.
7. In an hour or so enough whey will have drained from the curd so that the ends of the cheesecloth can be gathered together and tied in a knot. We have hooks in the ceiling above the pans which allow us to now hang the cheesecloth “bundles” with the use of rope. Hanging the curd assists in the draining process. This is a bit of a tricky process – as they say in show biz “don’t try this at home.”

curd hanging
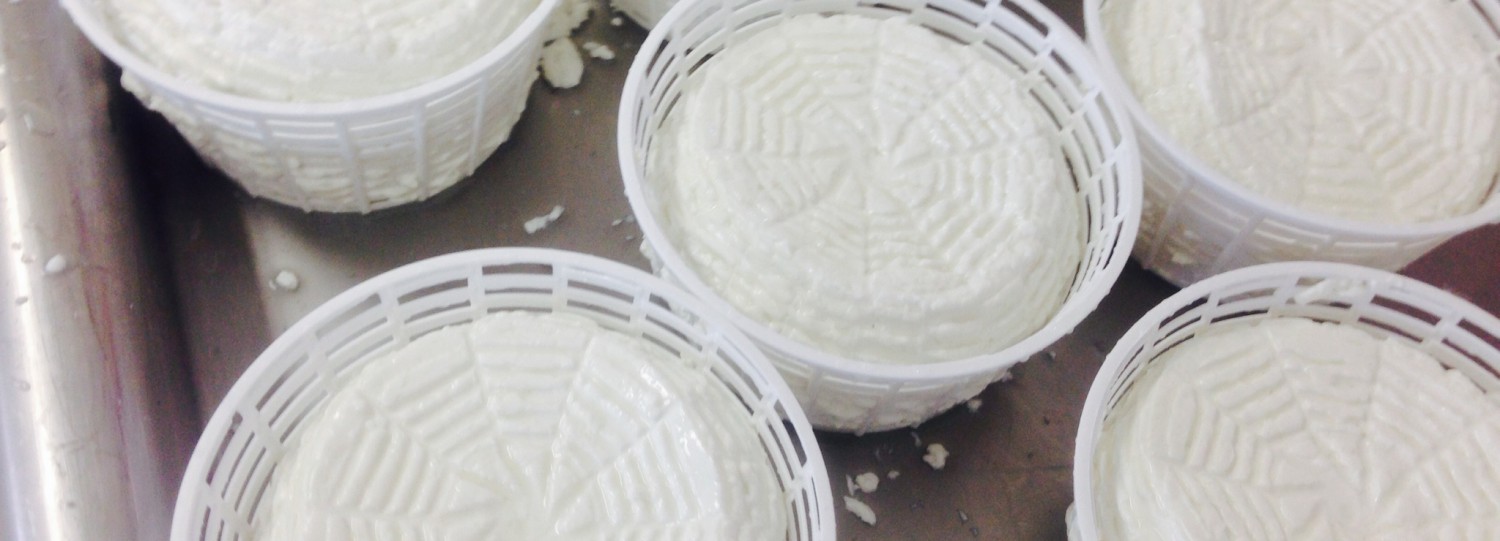
8. By mid to late afternoon the curd will have drained and firmed up enough (soft cream cheese consistency – just keep an eye on it till you think its ready).We now take down the bundles, untie the cheesecloth and dump the curds back into one of the empty vats. The curds are well stirred to create a nice uniform cream cheese type consistency and salt is added “to taste”. (and herbs or peppers etc. if you want.) It now needs to be refrigerated and should easily last a couple of weeks.
If you follow these simple directions you will have made the best “chevre” you have ever tasted!

P.S. You can get all the supplies you need, like starter cultures, rennet, cheesecloth etc. from New England Cheesemaking Supply Co. www.cheesemaking.com

